)
| Account Analysis | Back Forward Print this topic |
Account Analysis
The Account Analysis and Account Aging reports have a similar purposes – to determine which customers are delinquent. Both reports provide the ability to suspend customer scheduling and flight privileges and send an e-mail notification of that suspension. The suspension process can optionally cancel all reservations for suspended customers. Previously suspended customers have their names and suspension block highlighted in a pale red background.‡ Inactive customers names have a gray background.
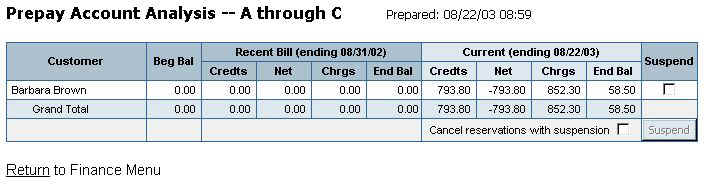
Unlike the Aging report, the Account Analysis report provides a history of all customers with account activity for the last two billing months plus the current month of activity. Unpaid balances are highlighted with a yellow background‡ for each month. Customers with unpaid balances every month have additional yellow highlighting on their name. This highlighting allows you to quickly see which customers consistently lag their payments by a month or more.
Taking Action
The Account Analysis report allows the user to suspend the privileges of delinquent customers / members. Select any of your delinquent accounts for this action in the Suspend column, and then click the Suspend button at the bottom of the page. This action sets the "no fly" flag on all selected accounts, preventing additional scheduling and/or dispatching of flights. An e-mail is sent to suspended customers.
Suspension can optionally include the cancellation of existing reservations for your selected accounts (use the check box labeled "Cancel reservations with suspension"). Customers are notified of canceled reservations via e-mail through the usual process.
Running the Report
To run an Account Analysis report select the account type (Prepay or Charge) in the drop down box next to "Account Analysis" on the Customer Billing Menu. Next choose which customers to list and press the "Go" button, the Account Analysis Report will appear.
Account Analysis Report
‡ To see background colors in printed copies of this report, you may need to adjust your browser settings. In Internet Explorer, select Tools | Internet Options and click the Advanced tab. Scroll down until you see "Printing" and then select "Print background colors and images."
| Copyright © MyFBO.com [email protected] |
09/01/09 P